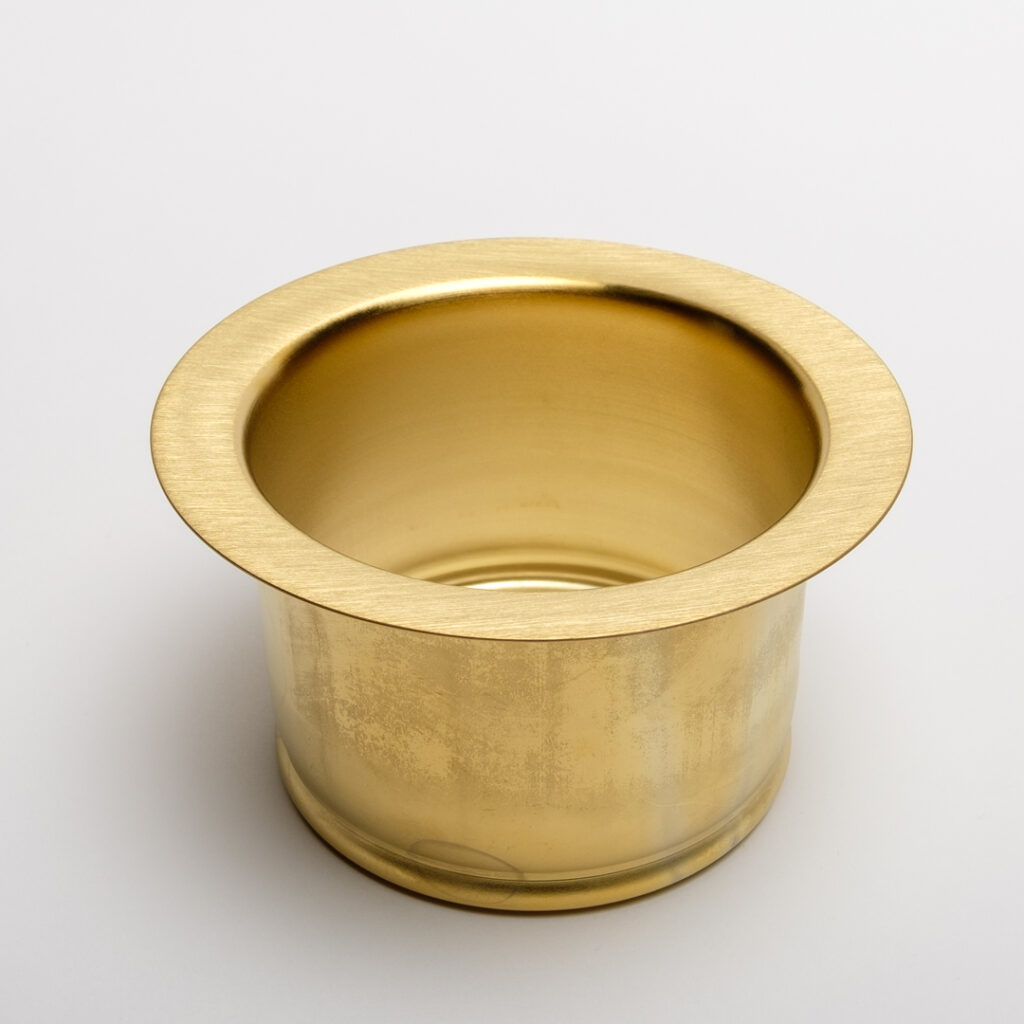
In this article, we will talk about extended disposal flanges. These are important parts for kitchen sinks with garbage disposals. Let’s find out more!
What is an Extended Disposal Flange?
An extended disposal flange helps connect a garbage disposal to a kitchen sink. It is longer than regular flanges. This makes it ideal for thicker sink surfaces.

Credit: www.amazon.com
Why Do You Need an Extended Disposal Flange?
Standard flanges may not fit thick sinks. Extended flanges solve this problem. They ensure a secure and tight fit.
Benefits Of Using An Extended Disposal Flange
- Secure Fit: Ensures garbage disposal is tightly connected.
- Versatility: Fits various sink thicknesses.
- Durability: Made from strong materials like stainless steel.

Credit: insinkerator.emerson.com
Types of Extended Disposal Flanges
There are different types of extended disposal flanges. They vary based on material and design.
Materials
- Stainless Steel: Durable and rust-resistant.
- Plastic: Lightweight and affordable.
- Brass: Strong and corrosion-resistant.
Designs
- Universal Fit: Fits most garbage disposals and sinks.
- Brand-Specific: Made for specific garbage disposal brands.
How to Choose the Right Extended Disposal Flange
Choosing the right flange is crucial. Here are some tips to help you pick the best one:
Measure Your Sink Thickness
First, measure your sink’s thickness. This will help you know if you need an extended flange.
Check Compatibility
Next, check if the flange is compatible with your garbage disposal. Some flanges are universal, while others are brand-specific.
Consider The Material
Choose a flange made from durable materials. Stainless steel and brass are good choices.
How to Install an Extended Disposal Flange
Installing an extended disposal flange is not hard. Follow these steps:
Step 1: Gather Your Tools
You will need a screwdriver, plumber’s putty, and a wrench.
Step 2: Remove The Old Flange
First, disconnect the garbage disposal. Then, remove the old flange from the sink.
Step 3: Apply Plumber’s Putty
Roll plumber’s putty into a rope shape. Apply it around the new flange.
Step 4: Insert The New Flange
Place the new flange into the sink opening. Press it down firmly.
Step 5: Secure The Flange
Use a wrench to tighten the flange. Make sure it is secure and tight.
Step 6: Reconnect The Garbage Disposal
Finally, reconnect the garbage disposal. Make sure everything is properly aligned.
Common Problems and Solutions
Sometimes, you may face issues with your extended disposal flange. Here are some common problems and how to fix them:
Leaking Flange
If your flange is leaking, check the plumber’s putty. You may need to apply more or re-tighten the flange.
Loose Flange
If the flange is loose, use a wrench to tighten it. Make sure it is secure.
Garbage Disposal Not Fitting
If your garbage disposal does not fit, check the flange’s compatibility. You may need a different flange.
Maintenance Tips
Proper maintenance can extend the life of your flange. Here are some tips:
Regular Cleaning
Clean your flange regularly. This helps prevent rust and buildup.
Check For Leaks
Inspect your flange for leaks. Fix any issues as soon as possible.
Use Quality Materials
Always use high-quality materials for repairs and replacements. This ensures durability.
Frequently Asked Questions
What Is An Extended Disposal Flange?
An extended disposal flange connects thicker sinks to garbage disposals efficiently.
Why Use An Extended Disposal Flange?
It provides a secure connection for thicker sink materials.
How To Install An Extended Disposal Flange?
Remove the old flange, place the new one, and secure it.
Can I Install It Myself?
Yes, but follow the manufacturer’s instructions closely.
Conclusion
Extended disposal flanges are essential for thick sinks. They ensure a secure and tight fit for your garbage disposal. Choose the right flange for your needs. Follow installation and maintenance tips for best results.

